
Throwing Shade: Contouring 101

You can thank Kim Kardashian for contouring’s comeback. Here’s how to master face-sculpting without risking retro-’80s results
By Lauren Kerbel
Decades ago, contouring and highlighting were a makeup artist’s go-to solution when bright lights threatened to wash out facial features (think movie sets, runways, theatres). The technique then evolved from pro secret to inspo for the masses when the late Kevyn Aucoin showed off his sculpting skills—transforming celebrities into other celebrities—in his iconic 2000 book, Face Forward. Today, his dramatic technique has been embraced by bloggers and vloggers with fresh fervour. But while the results may seem flattering in heavily filtered photos and dimly lit videos, Erik Soto, global artist for Kat Von D Beauty, cautions that such extreme contouring doesn’t translate in real life. “[In his book] Aucoin was turning Martha Stewart into Veronica Lake! It’s amazing, but it’s not amazing when you look at someone in broad daylight.” Soto likens what he calls “the Instagram contour” to a runway look—you can draw inspiration, but don’t replicate it for everyday. Here’s how you or your client can pull off a more natural, ready-to-wear version.
THE RIGHT PRODUCTS
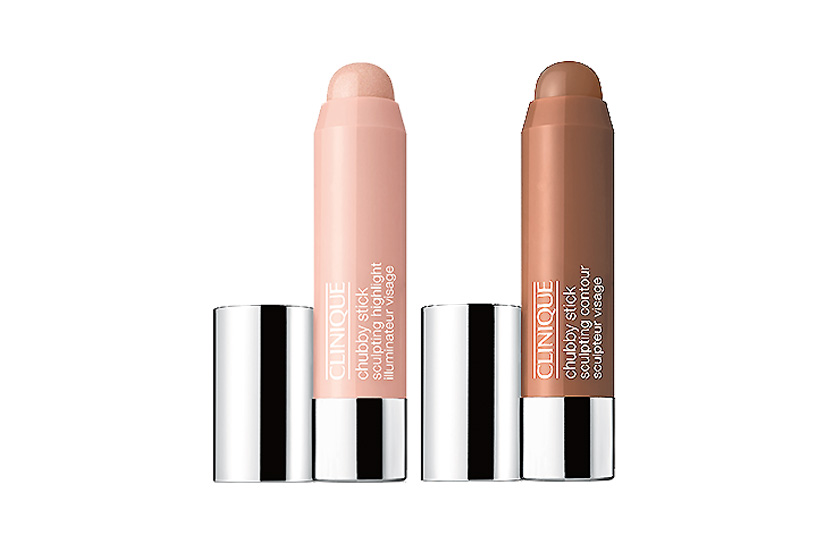
Beauty brands have taken note of the contouring craze, developing a flurry of new products with varying applicators and textures (see “Now Launching,” below). Powder palettes are what Gemma Wheatcroft, official Rodial makeup artist, recommends for beginners: “Powder is more foolproof because it has a softer finish and the edges are easier to blend,” she explains. Other options include cream and stick products, which may be less forgiving when blending, but are great for applying on the go with fingertips.
You can also repurpose products the way that Jenna Menard, Clinique global colour artist, does. When she’s backstage or in a studio, she often uses whatever’s at hand: “For a fashion show a few seasons ago, I used a matte eyeshadow to create a contour on the face. A darker foundation can also be used to create a super subtle contour. Going with a shade just two shades darker than normal will work.”
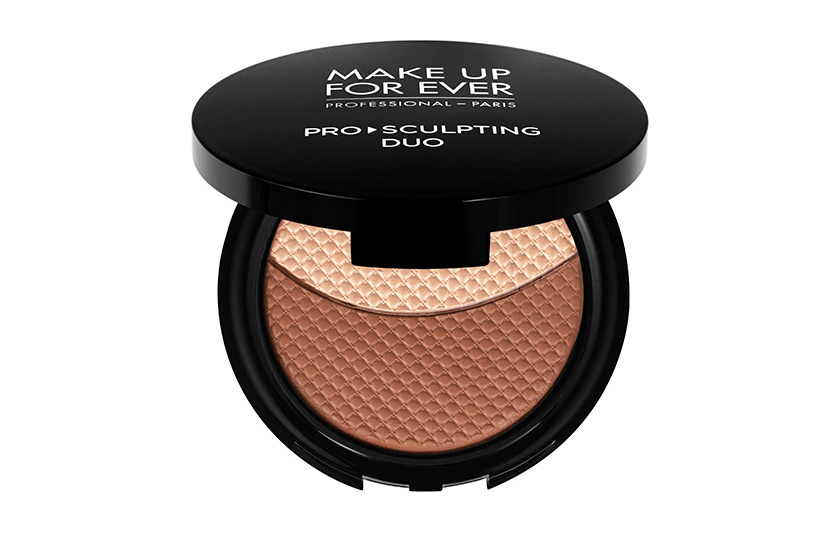
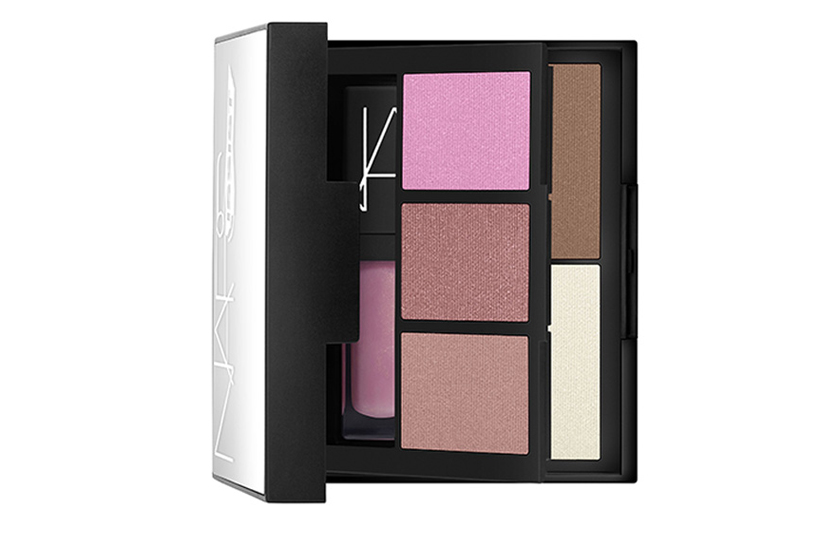
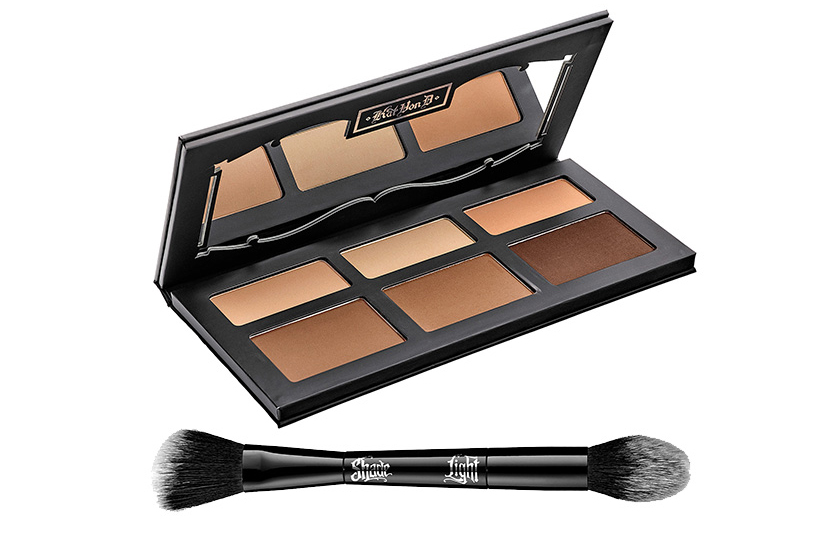
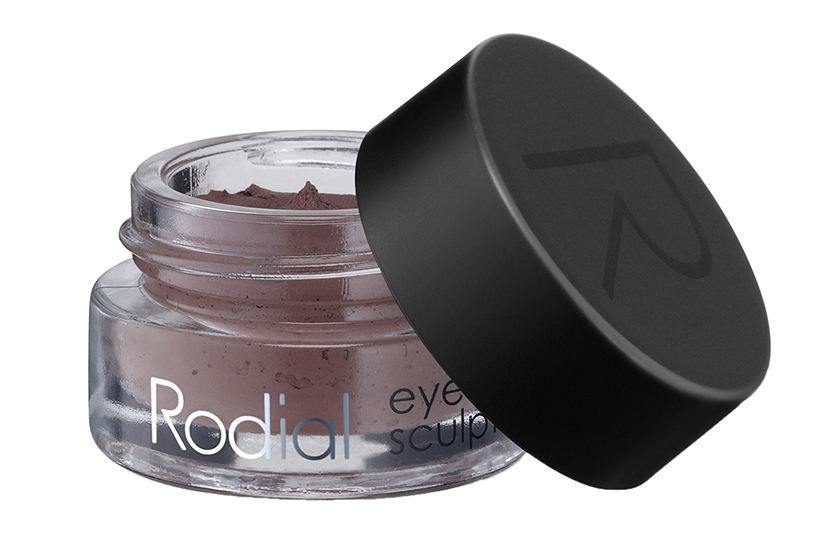
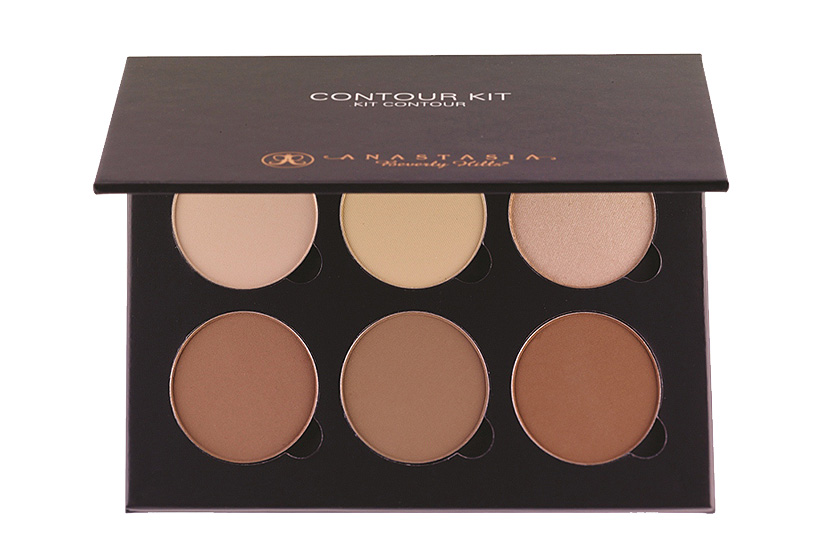
Now Launching:
No matter what the makeup texture, choosing the right hue is essential. Soto advises placing your hand or a piece of paper beside the part of the cheek you want to contour, so you can see what a natural shadow looks like. “Whatever colour you’re using should look like that shadow.”
THE RIGHT TECHNIQUES
Contouring 101: apply a darker colour to create a shadow on the areas you want to slim or make less prominent, then add highlighter to pull other features forward and draw attention to them. Popular online instructional photos tend to highlight and contour every facial feature—but that doesn’t mean you need to. “You have to analyze [each individual] face and decide what illusions you’d like to create with makeup,” explains Menard.
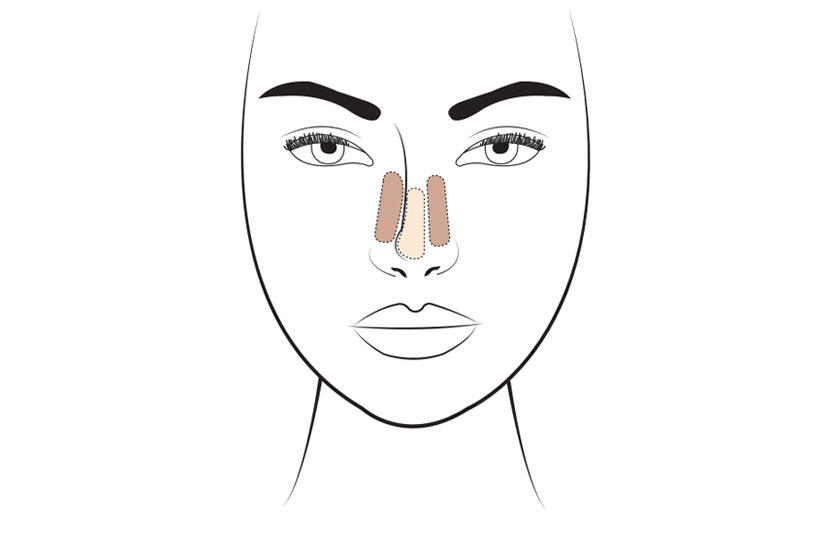
Contouring, Step by Step:
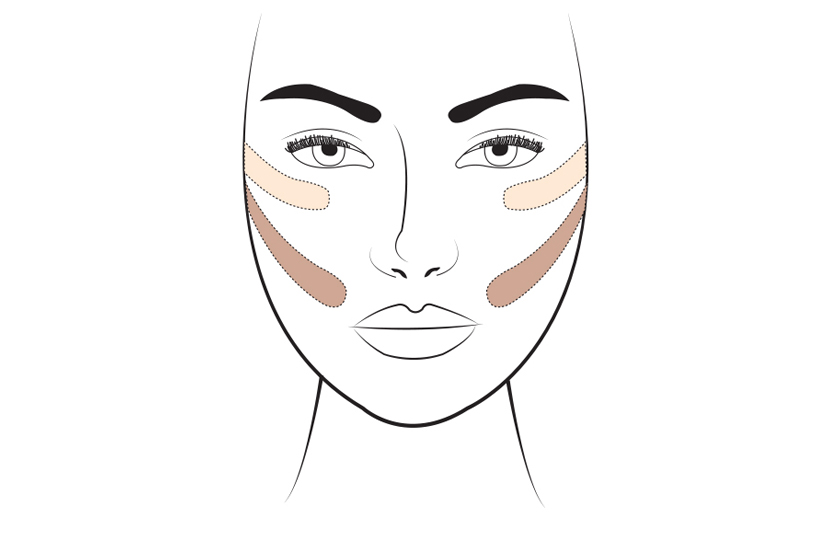
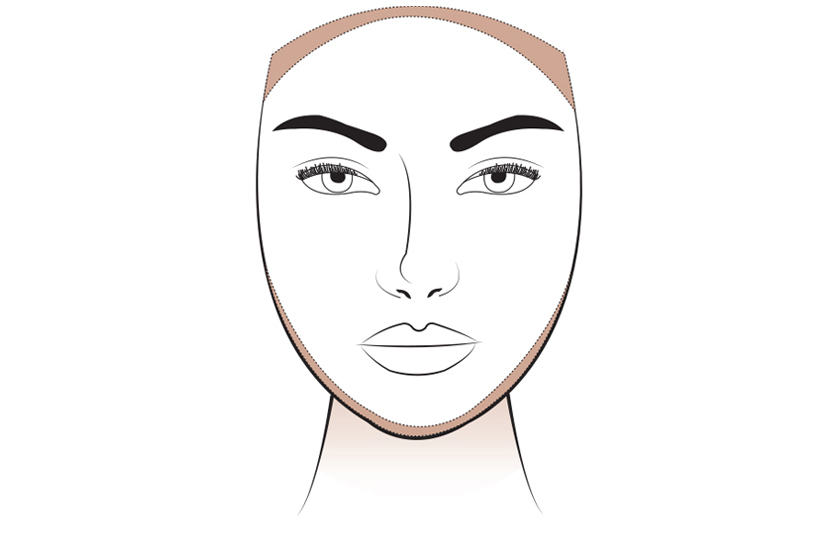
Like every beauty trend, contouring is customizable, and it’s up to you and your client to decide what areas of the face need to be played up, minimized or left alone. Start with a light touch, then build the makeup to reach the desired intensity. The end result should always look natural. As Soto puts it, “Contouring is like lingerie—it’s not something we necessarily need to see. ”
Another option is to forgo contouring and instead shape features using a light-reflecting product—such as an illuminating powder, cream or gloss—on the high points of the face. “Sometimes it’s as simple as dabbing a highlight along the top of the cheekbones,” says Menard. But remember that anything shiny will draw attention to detail (including fine lines, enlarged pores and dry skin).
CONTOURING GONE WRONG
The cardinal sin of sculpting is to use an overly shimmery bronzer, since the product’s sheen attracts light to the area—cancelling out the shadow you’ve worked hard to create. Plus, some bronzers have an orangey tone, warns Soto. “We used to contour with bronzer because there were no contouring products available, but we try to steer away from that now because it looks so obvious.”
Other mistakes include not blending well enough and, Soto’s pet peeve, forgetting the tragus (the bit of cartilage that protrudes from the side of the inner ear). “People often leave out this part when contouring, but in natural shadow, it wouldn’t be paler! After contouring the cheekbones, take whatever is left on the brush and swipe it back onto the ear. That way when you look to the side, you won’t have this obvious stripe dividing the contour and the natural skin colour.”
Photography: Anthea Simms (backstage beauty)
Illustrations: Samantha Reid
This article was originally published in the Spring 2015 issue of Cosmetics magazine. For more, download our iPad edition.